Authentication & Authorization
Authentication & Authorization is handled through Keycloak, which can be enabled or disabled in ZenCrepes through environment variables. Keycloak can be used to authenticate and authorize users accessing data through the API (don't expose your Elasticsearch instance !).
Instructions on how to get started with Keycloak are available on their website.
caution
Although this section of the documentation will present instructions on how to get started quickly with Keycloak, it should NOT be considered a best practice or recommended configuration. It remains your responsibilty to understand the data your are exposing, how this data should be protected and what mechanisms are being implemented to ensure rightful access. Use the below (and ZenCrepes in general), at your own risks.
Deploy and Configure Keycloak
Start by deploying Keycloak (in a Docker container for example).
caution
There is a strong dependency between the version of your Keycloak server and the version of keycloak-js used by ZUI, if you are facing errors, check that your server version and the version listed in zui's package.json do match.
Once done, log into the administration panel: http://localhost:8080/auth/admin
Create a Realm
From there, mouse-over "Master" (the default Realm) and click on "Add realm" and give it the name ZenCrepes.

Realm Settings
To allow connections towards the Realm, you need to configure it to allow connections coming from your application, to do so, click on "Realm Settings" > "Security Defenses" and in the "Headers" section, ensure Content-Security-Policy contains your ZUI's domain (dev or production).
If not configured you would see the following error:
Create a Client
We will then create a client by clicking (within the zencrepes realm) on Clients > Create. The client will be the ZenCrepes application that will be used by users to authenticate with KeyCloak.
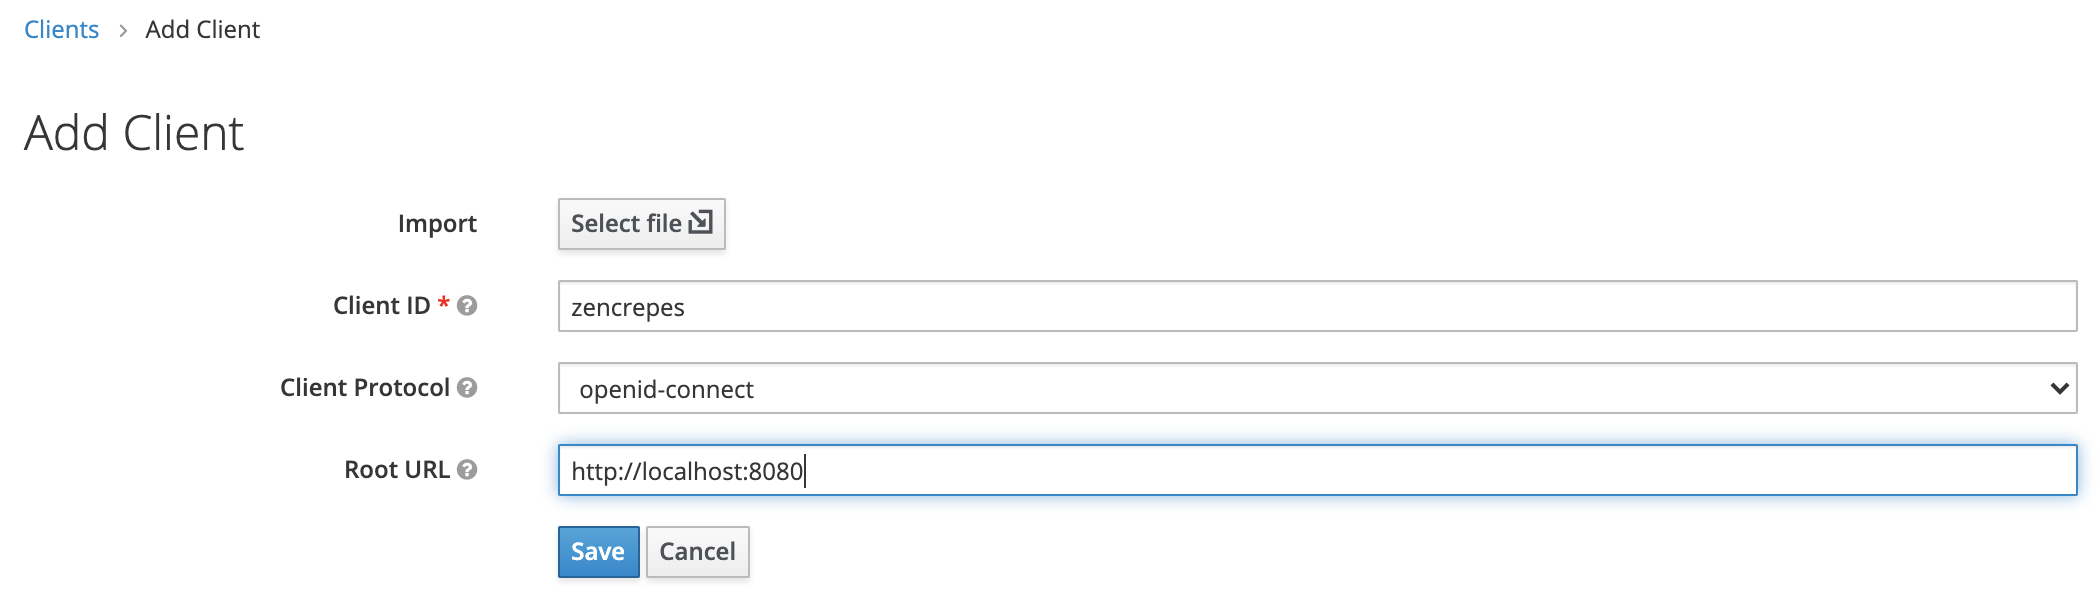
- Client ID: Use
zencrepes, this name has a different purpose than the realm, but it doesn't hurt using the same value - Client Protocol: Select
openid-connect - Root URL: The URL you're using to access ZenCrepes:
http://localhost:3000(for the purpose of this guide).
Identity Provider
Although ZenCrepes would allow you to use any Identify Provider (or none if you want to rely solely on KeyCloak), using GitHub as an identity provider will allow you to enable (upcoming) features allowing bulk modifications to be performed. Such actions will be performed directly between the user's browser and GitHub, thus requiring a user authenticated with GitHub.
Register a Client in GitHub
In GitHub, create a new OAuth App (either under an Organization's settings or under your own settings), specifying the following:
- Application Name : The desired name of your application
- Hompage URL : The Keycloak URL of the realm, for dev we're using:
http://localhost:8080/realms/ZenCrepes - Application callback URL :
http://localhost:8080/auth/realms/ZenCrepes/broker/github/endpoint
GitHub will automatically generate a Client ID and Client Secret, those will be necessary in the next step.
caution
If you are using Keycloak and the correponsing ZenCrepes docker-compose file, and plan to play with it locally, please read the bottom of the Getting Started > Try It ! section of this documentation, regarding the use of localhost.
Create an Identify Provider
In Keycloak, create a GitHub identify provider by clicking on "Identity Providers", "Add provider ..." and selecting GitHub. Enter the following settings:
- Client ID: The Client ID you just got from GitHub
- Client Secret: The Client Secret you just got from GitHub
- Default Scopes: Use the following
user:email, read:org, repo, they will be needed if we want user to start batch modifying content - Store Tokens: ON
- Store Tokens Readable: This parameter must be turned
ONto allow authenticated users to retrieve their token and make direct calls to GitHub. Note that is users connected before this setting was turned on, those users will need to be deleted from Keycloak.
Leave the rest by default.
Enable Keycloak on ZUI
ZenCrepes ZUI supports passing Keycloak details through environment variable, use the following:
- KEYCLOAK_DISABLED : Whether Keycloak should be disabled or not, set this to false
- KEYCLOAK_AUTH_SERVER_URL : URL of the Keycloak server, for us:
http://localhost:8080/auth/ - KEYCLOAK_AUDIENCE : The root URL of your application, for us:
http://localhost:3000 - KEYCLOAK_REALM : Your Realm, for us:
ZenCrepes - KEYCLOAK_CLIENT_ID : The client ID you set-up in Keycloak, for us:
zencrepes
You can set these as environment variables in the docker image (at run or in docker-compose.yml) or, for developers, by modifying the .env file in ZUI's root directory and restarting the UI.
You should then see the Authentication screen after restarting (if Keycloak is disable this screen is not visible)
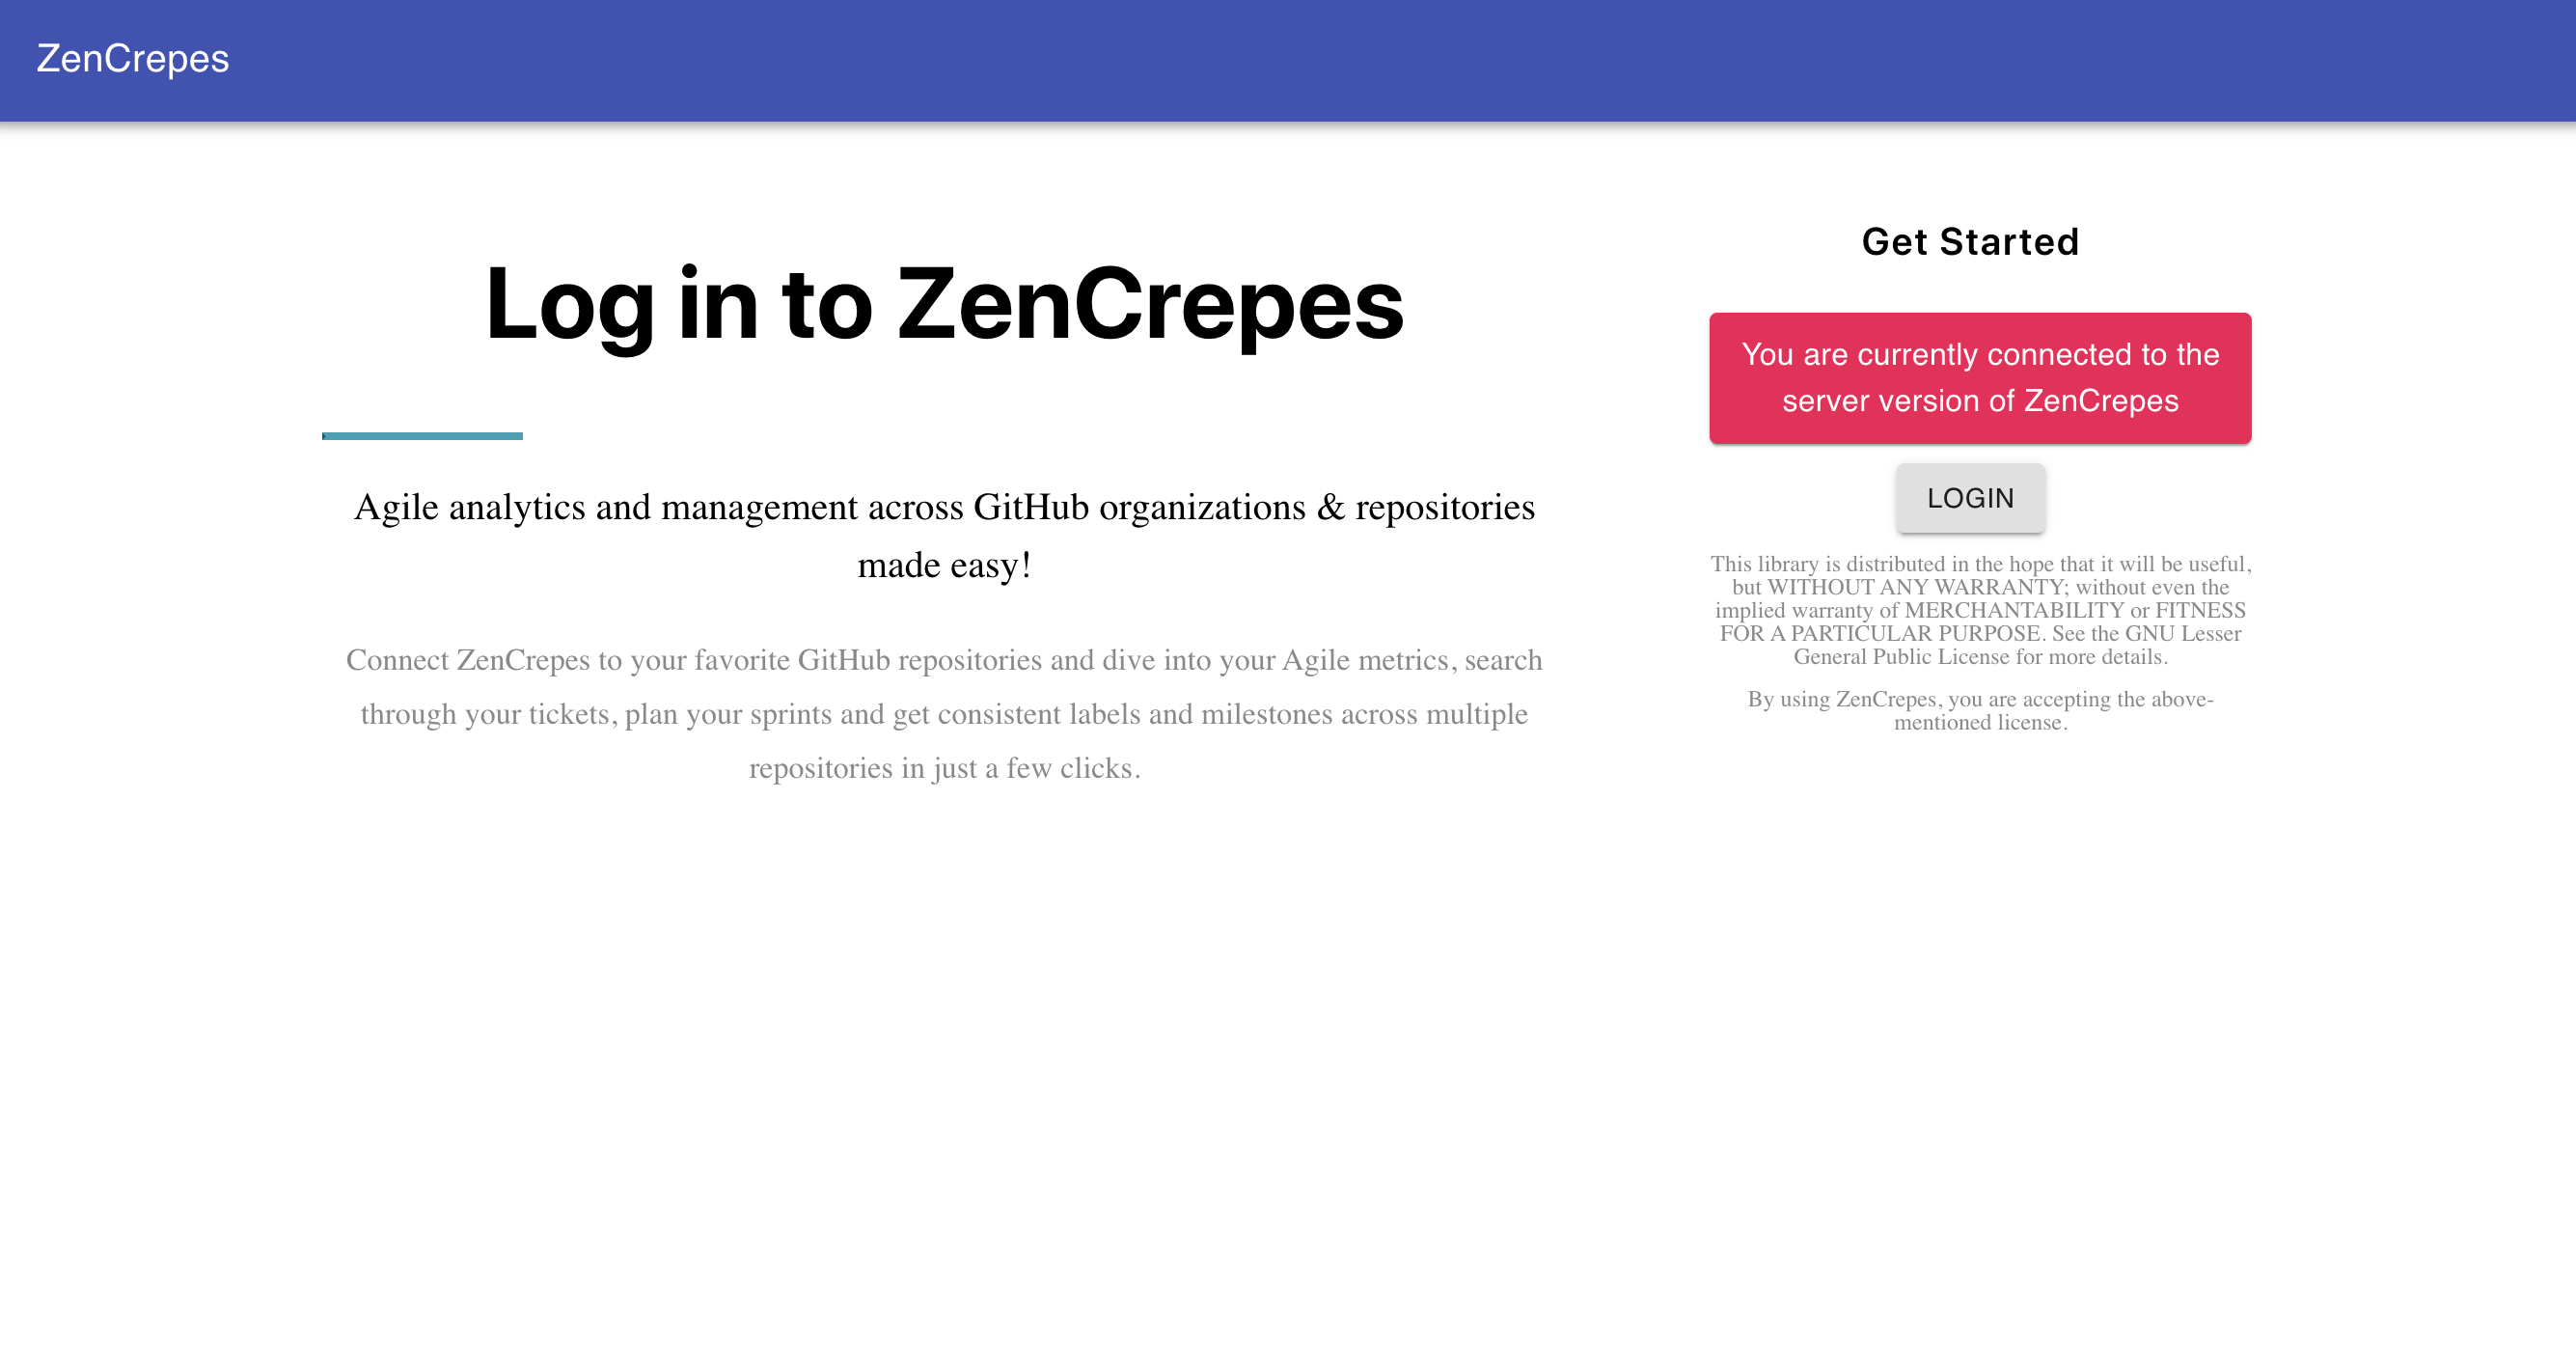
Try logging-in with your credentials, if successful, you should see your GitHub Avatar displayed on the top-right corner of the screen, if this is the case this demonstrate that your browser was indeed capable of authenticating to GitHub directly after the Keycloak flow.
Enable Keycloak on ZAPI
ZenCrepes ZAPI supports passing Keycloak details through environment variable, use the following:
- KEYCLOAK_DISABLED : Whether Keycloak should be disabled or not, set this to false
- KEYCLOAK_AUTH_SERVER_URL : URL of the Keycloak server, for us:
http://localhost:8080/auth/ - KEYCLOAK_AUDIENCE : Leave empty (default) except if you specified it in Keycloak.
- KEYCLOAK_REALM : Your Realm, for us:
ZenCrepes
Checkpoint
At this point, access to ZenCrepes will be protected by requiring the user to log-in with GitHub, but that doesn't really protect access to your application. We dealt with the Authentication portion, now the next step is configuring Authorization in Keycloak to control which GitHub user are authorized to log-in.
Configure Keycloak for Authorization
From the perspective of Authorization, ZenCrepes has an all-or-nothing approach and currently don't offer any granularity in authorizing access to its dataset (users either have access to all datasets or don't have any accesses at all).
The Authorization layer is handled through role assignment.
More about Authorization
ZenCrepes supports two modes for authorization, the first one through group membership, the second one through checking the user email.
Authorization through Group membership
Authentication & Authorization is handled at ZAPI level through decoding a JWT, during authentication, users assigned to a pre-defined role will automatically see their secured token populated with this extra role.
If the role is missing from the JWT token, access to the data will be denied.
Roles can also be mapped to user groups, which is the approach that will be documented here. A group will be created and a role will be mapped to this group. By adding users to the groups, users will inherit the role, which will then be verified by the API.
Create a Group
The first step is to create a group of authorized ZenCrepes users.
Go back to Keycloak admin, select your Realm (ZenCrepes), click on "Groups" in the "Manage" section. Then click on "New" to create a new group.
For the purpose of this guide we'll call this group zencrepes-users.
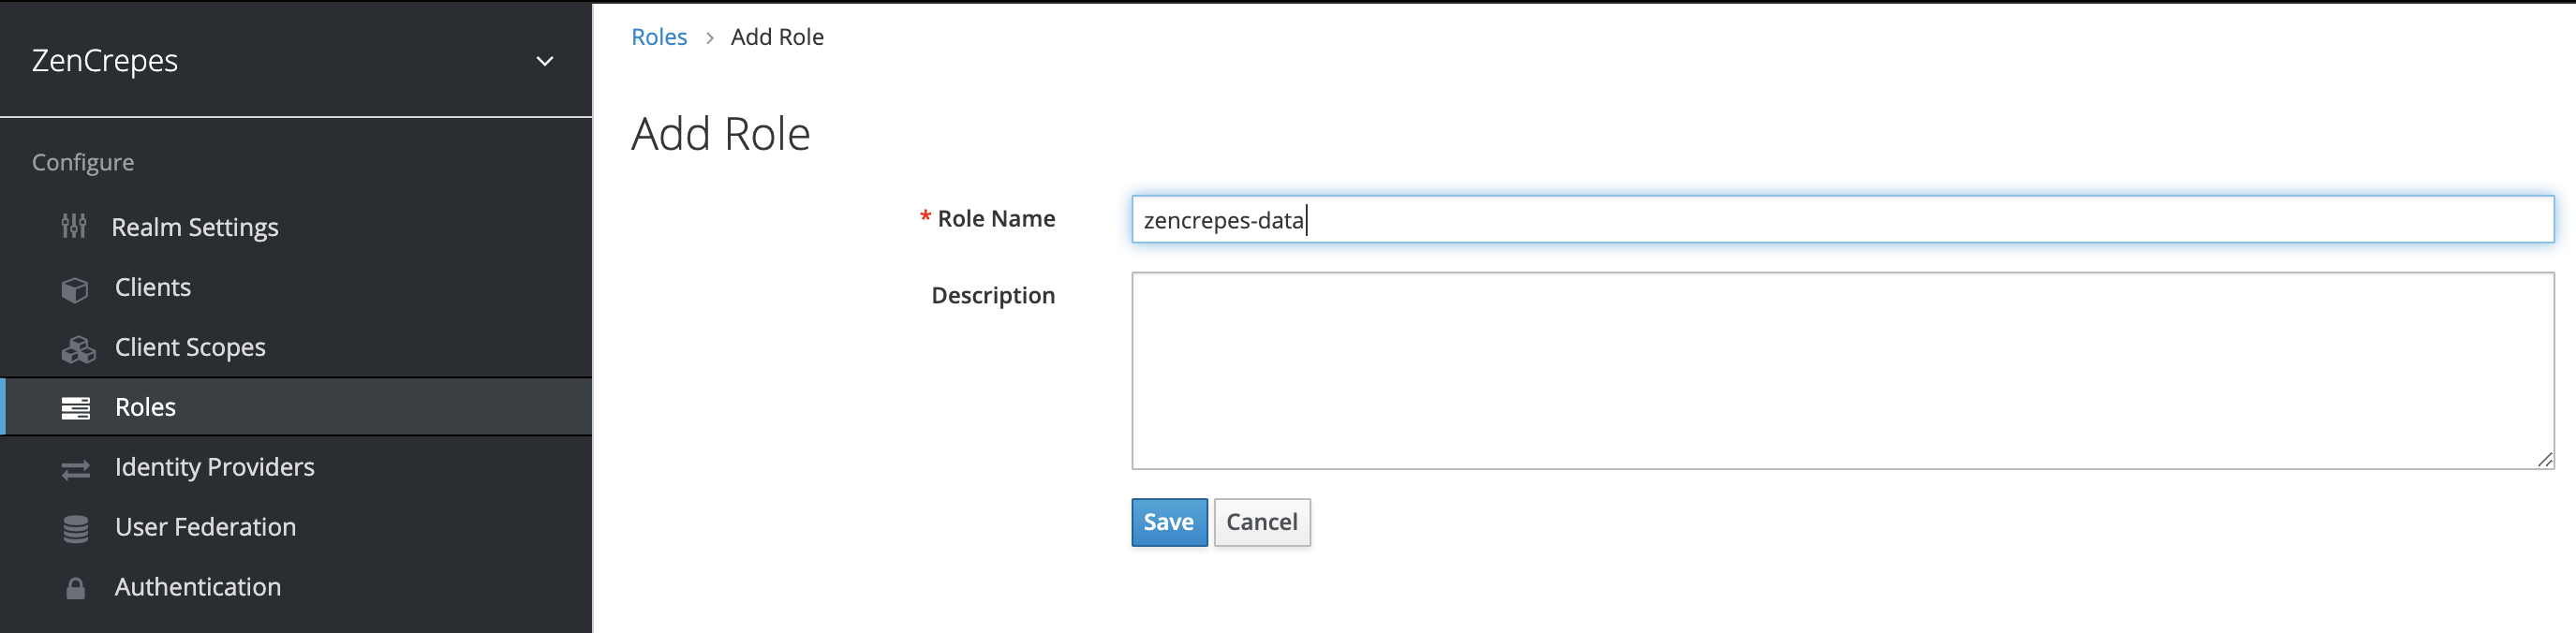
Create a Role
Within your Realm (ZenCrepes), click on "Roles" in the "Configure" section. Then click on "Add Role".
We'll call this role zencrepes-data.
Attach the role to the group
Go back to the group you created earlier (zencrepes-users), click on "Edit", select the "Role Mappings" tab and add zencrepes-data to the "Assigned Roles.
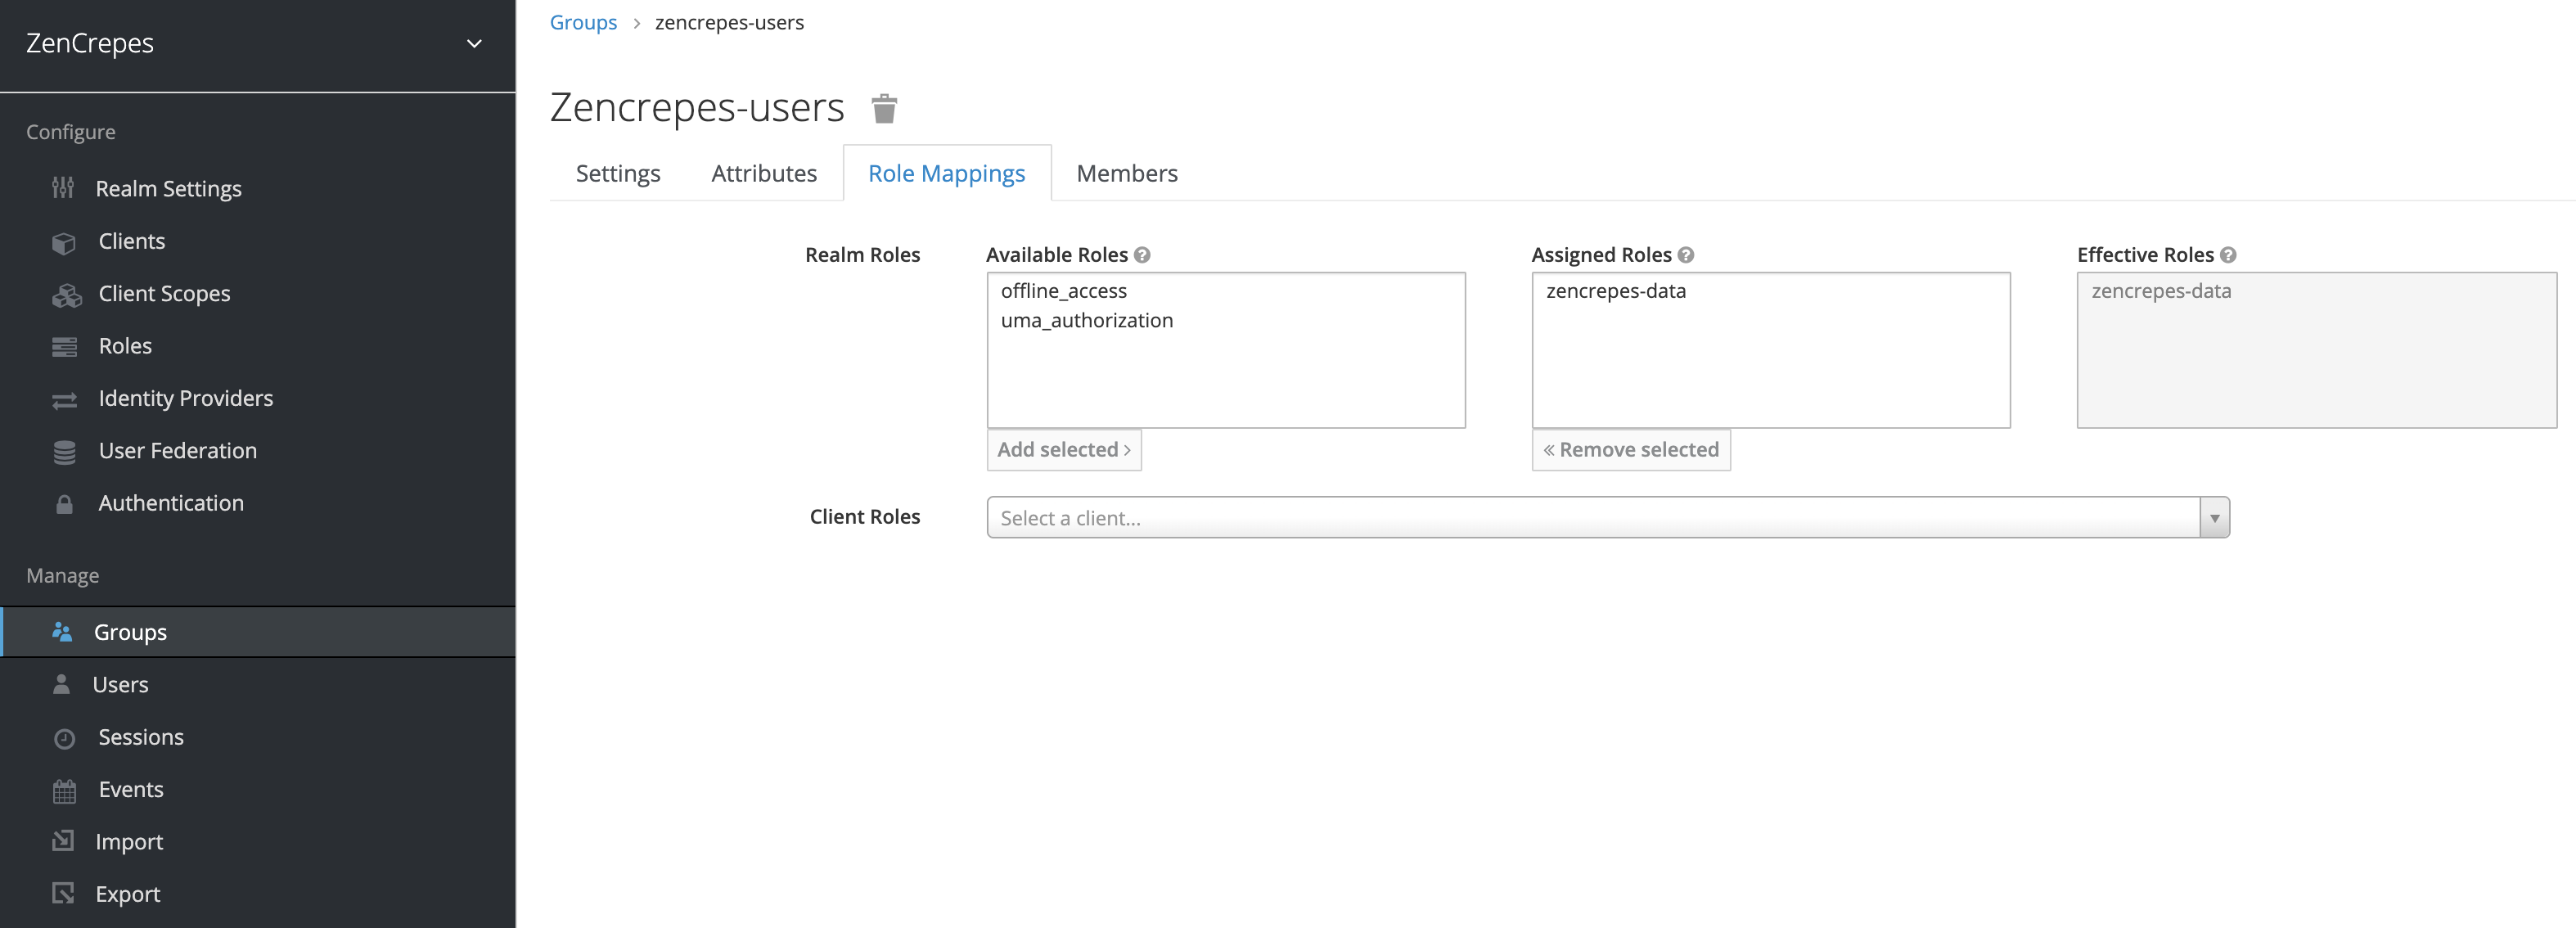
From that point on, any users assigned to this group will also receive the zencrepes-data role, but we didn't configure any yet (on purpose).
Update ZAPI configuration
Go back to ZAPI environment variables configuration and update environment variables.
- KEYCLOAK_ROLE : The role to check for in the token, for us:
zencrepes-data
Restart the API with this new variable.
Verify configuration
Try logging in ZenCrepes, you'll get a denied request and will be redirected back to the login page.
Add user to group
Go back to Keycloak admin, select your Realm (ZenCrepes), click on "Users" in the "Manage" section and click on "View all users".
Select your user, click on "Edit", go the the "Groups" tab and add the user to group zencrepes-users.
Verify configuration
Log-out and log back in.
Your user should now be authorized to access ZenCrepes data, for all subsequent logins you will simply have to add users to the zencrepes-users group for them to be allowed to access ZenCrepes data
Authorization through email pattern
The second mode consists in verifying the user's email address towards a pre-configured pattern.
Disable account login
Keycloak provides an optional UI to let users edit their profile, this includes updating their email address, which is a feature we want to make sure is disabled.
You can verify if this feature is disabled or enabled by accessing http://localhost:8080/auth/realms/ZenCrepes/account/ after a successful authentication to ZenCrepes.
You should see a Page not found message if the feature is disabled.
Otherwise, connect to Keycloak administration:
- select your Realm (ZenCrepes)
- click on the
Clientssection - select the
accountClient ID - move the
Enabledcursor toOFF - save
You can try accessing http://localhost:8080/auth/realms/ZenCrepes/account/ again.
Edit Zencrepes configuration file.
Open up your config.yml file and update the following section:
In every call ZAPI will receive, it will check the user's email contained in the JWT token and check if the email includes part of the domains.
For example joe@mydomain.com will be granted access. But if you were to just add joe in the domain section, it would grant access to joe@test.com but also alex@joedomain.com, so just make sure you configure those fields properly.
You can specify multiple "domains", ZAPI will pass if it matches at least one.
PS: The warning message is just there for the administrator while editing the config file.
Restart ZAPI
ZAPI's configuration is only read at startup, so simply restart your container to read the updated configuration file.